A paper jam is rarely a sign of a broken printer. Most jams come from paper that is damp, curled, overloaded or the wrong weight, or from a small scrap left behind by a previous jam. The goal when clearing one is simple: get every piece of paper out without tearing it, because a torn corner stuck deep inside causes the next jam. This guide shows you where to look, how to pull, and what to change so it happens less often.
Symptoms
You are in the right place if you notice one or more of these.
- The printer stops mid-page and shows a jam message or a blinking light.
- A sheet sticks out of the output slot or the paper tray, partly printed or crumpled.
- The printer reports a jam but you cannot see any paper.
- Jams happen repeatedly, often at the same point in the job.
Likely causes
Listed from most to least common.
-
01
Too much paper, or paper loaded unevenly
An overfilled tray or guides set too loose let the printer pick up two sheets or feed one at an angle.
-
02
Damp, curled or creased paper
Paper absorbs moisture from the air. Curled or wavy sheets catch on rollers and guides.
-
03
Paper the printer is not designed for
Very thin, very heavy, glossy or textured stock can slip or stall if it is outside the printer's paper specifications.
-
04
A leftover scrap from a previous jam
A small torn piece hidden in the paper path can trip every sheet that follows.
-
05
Worn or dirty rollers
Over time, pickup rollers lose their grip and collect paper dust, which leads to misfeeds.
What you'll need
- Your printer's manual, for the location of its access doors
- A flashlight or phone light to see inside
- Fresh, dry paper of the weight your printer is designed for
- A few minutes of patience: rushing is what tears the sheet
Fix it step by step
6 steps-
Step 1 of 6
Stop, cancel the job and switch the printer off
Cancel the job on the printer or computer so it does not restart halfway through clearing. Then switch the printer off and unplug it. On laser printers, wait at least 15 minutes: the fuser near the output can be very hot. On inkjet printers, wait until the print carriage has stopped moving before you reach inside.
-
Step 2 of 6
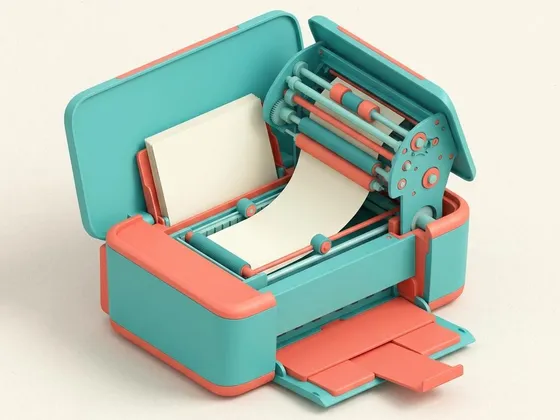
Open every access door your model has
Most printers have more than one way in. Check the front cover, the output area, the paper tray, and any rear access door or duplex unit. Your manual shows each door for your model. Use a light to look along the path the paper travels, so you can see where the sheet is caught before you touch it.
-
Step 3 of 6
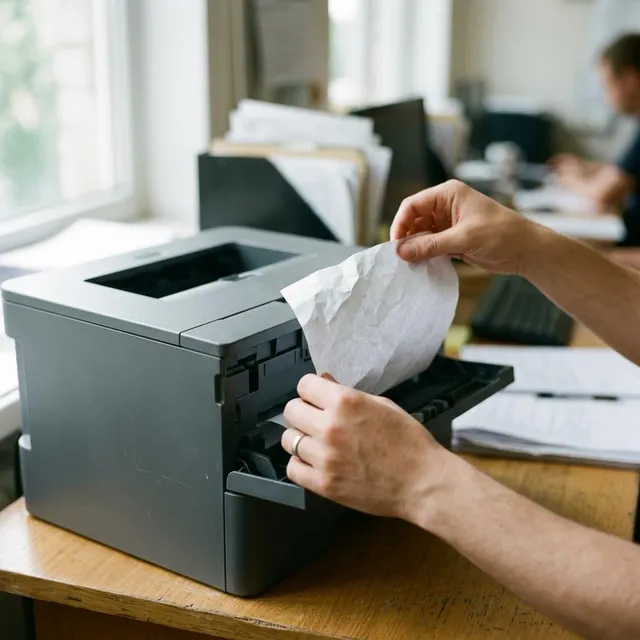
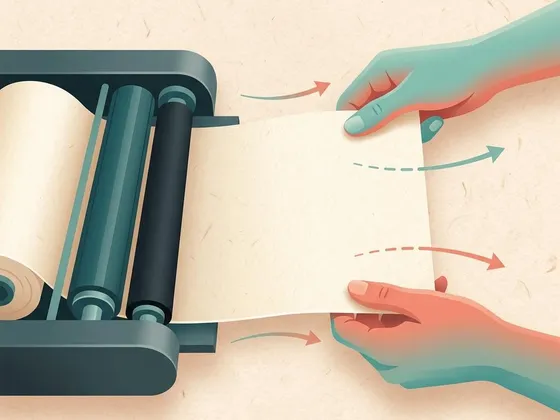
Pull slowly, with both hands, in the direction of travel
Grip the sheet with both hands, as wide apart as you can, and pull it slowly and evenly in the direction the paper normally moves. Pulling backwards against the rollers or yanking at one corner is what tears it. If the sheet resists firmly, stop and try reaching it from a different door; it may come out more easily from the other side.
-
Step 4 of 6
Check for torn scraps
Lay the removed sheet flat and check that it is whole. If a corner or strip is missing, it is still inside. Look carefully along the paper path with your light. Use your fingers to remove scraps, never a knife, scissors or metal tool, which can scratch rollers or damage sensors. Some printers have a small green or blue lever or knob that releases the rollers; your manual will tell you if yours does.
-

Step 5 of 6
Reload the tray properly
Take the paper out of the tray. Fan the stack gently to separate the sheets, tap it square on a table, and load it below the maximum fill line marked inside the tray. Slide the paper guides until they just touch the edges of the stack without bending it. A stack that is too high or guides that are too loose are among the most common causes of repeat jams.
-
Step 6 of 6
Close every door and print a test page
Close all covers firmly; many printers will not start while any door is ajar. Plug the printer back in, switch it on, and let it finish its start-up routine. Some models clear the jam message only after a door has been opened and closed. Print a single test page before sending a long document.
Paper habits that prevent most jams
Store paper flat in its wrapper until you need it, and keep it away from damp rooms such as basements and laundries. Load only what you will use over the next few days, especially in humid weather. When printing on envelopes, card or labels, use the tray or slot your manual recommends for special media, and feed them one at a time if the manual suggests it.
Know your printer’s paper limits
Every printer lists the paper weights and sizes it can handle in its specifications. Plain office paper is usually around 75 to 90 g/m² (20 to 24 lb). Heavier card or glossy photo paper often needs a different tray or a rear feed slot. You can find these limits in the manual or on the maker’s website, such as Brother (opens in a new tab) or Lexmark (opens in a new tab), under your model’s specifications.
Still not working?
A few more things worth trying before you look further.
- If the printer reports a jam but there is no paper anywhere, check for scraps again with a light. A piece of paper resting on a sensor is the usual cause.
- Try a fresh ream from a sealed pack. If the jams stop, the old paper had absorbed moisture.
- Clean the pickup rollers with a lint-free cloth lightly dampened with water, following the steps in your manual.
- If jams continue at the same point, or you see broken plastic parts, stop using the printer and contact your printer's manufacturer.
Questions readers ask
Can I pull a jammed sheet out while the printer is on?
It is safer to switch the printer off first. Moving parts can start unexpectedly, and on laser printers the fuser can be hot enough to burn. Turning the printer off also lets the rollers relax so the paper comes out more easily.
Why does my printer say there is a jam when there is no paper inside?
A small scrap resting on a paper sensor is the usual cause. Look carefully along the whole paper path with a light, including the rear door and duplex area. Opening and closing every door can also reset the jam message on some models.
Does the type of paper really make a difference?
Yes. Paper that is too thin, too heavy, curled or damp is one of the most common causes of jams. Use the weights listed in your printer's specifications and keep paper sealed and flat until you need it.
How do I know when the rollers need cleaning?
Repeated misfeeds, several sheets feeding at once, or paper entering at an angle are typical signs. Your manual describes how to reach and clean the rollers for your model, usually with a lint-free cloth and a little water.
Official manufacturer resources
Your printer's manual and the maker's website are the authoritative source for your exact model.
- HP — manuals, drivers and product help (hp.com) (opens in a new tab)
- Canon — manuals, drivers and product help (usa.canon.com) (opens in a new tab)
- Epson — manuals, drivers and product help (epson.com) (opens in a new tab)
- Brother — manuals, drivers and product help (brother.com) (opens in a new tab)
- Xerox — manuals, drivers and product help (xerox.com) (opens in a new tab)
- Lexmark — manuals, drivers and product help (lexmark.com) (opens in a new tab)
- Kyocera — manuals, drivers and product help (kyoceradocumentsolutions.us) (opens in a new tab)
- Ricoh — manuals, drivers and product help (ricoh-usa.com) (opens in a new tab)