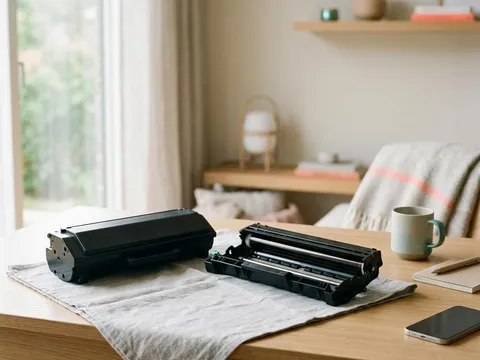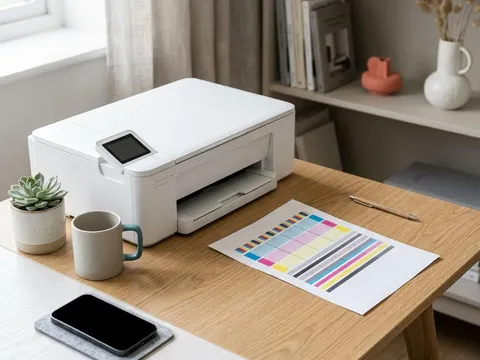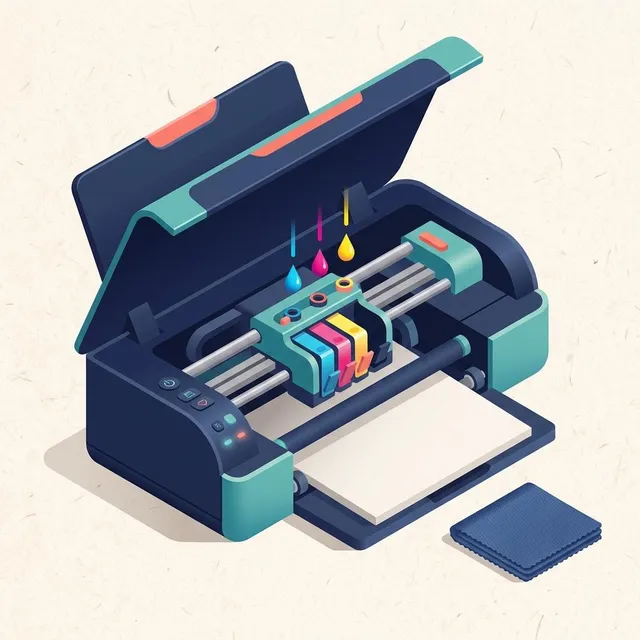
Streaks, faint lines or a missing color usually mean some of the tiny nozzles in an inkjet printhead are clogged with dried ink. Most printers can clean their own printheads, and a single cleaning cycle often clears the problem. Cleaning also uses ink, though, so running it again and again can empty a cartridge without fixing anything. This guide shows you how to check first, clean in measured rounds, and decide when a gentle manual clean makes sense.
What you'll need
- Plain white paper in the main tray
- Your printer's manual, for the location of its maintenance menu
- Enough ink in every color; cleaning with a near-empty cartridge can make things worse
- For a manual clean only: lint-free cloths, cotton swabs, distilled water and disposable gloves
Step by step
7 steps-

Step 1 of 7
Print a nozzle check pattern
Open the maintenance or tools section on the printer's menu, or in the printer software on your computer, and print a nozzle check. The page shows a grid of fine lines in each color. Look at it under good light. Complete, unbroken lines mean the nozzles are clear and the problem lies elsewhere, perhaps in the paper type or print settings. Gaps or missing blocks show which color needs cleaning.
-
Step 2 of 7
Run one cleaning cycle
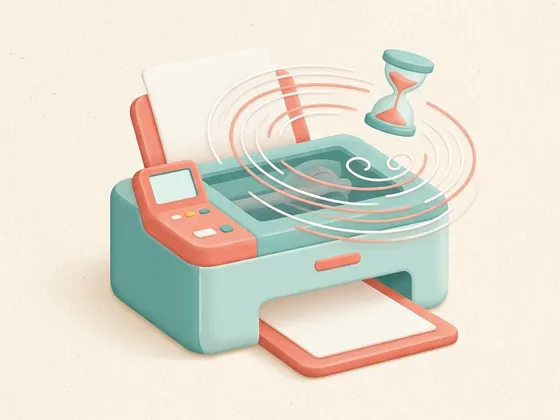
From the same menu, start a printhead cleaning or head cleaning cycle. Many printers let you clean all colors or only the ones with gaps. The printer pushes ink through the nozzles and wipes the printhead, which takes one to three minutes and may be noisy. Do not open covers or switch the printer off while it runs.
-
Step 3 of 7
Print another nozzle check and compare
Print a new nozzle check and compare it with the first. If the gaps have shrunk but not disappeared, run one more cycle. Most manufacturers suggest no more than two or three cycles in a row. If there is no improvement after two cycles, stop and move to the next step instead of repeating.
-
Step 4 of 7
Let the printer rest, then check again
Leave the printer switched on but idle for several hours, or overnight. The cleaning fluid in the ink has time to soften dried deposits. Then print one more nozzle check. Surprisingly often, this rest clears clogs that repeated cycles could not.
-
Step 5 of 7
Consider a deep or power cleaning, once
Some printers offer a stronger cleaning option, sometimes called deep cleaning or power cleaning. It uses much more ink, and on ink-tank printers it can fill a large share of the internal waste ink pad. Use it once at most, and only after the regular cycles and the overnight rest have not helped.
-
Step 6 of 7
Clean manually, only if your manual describes it
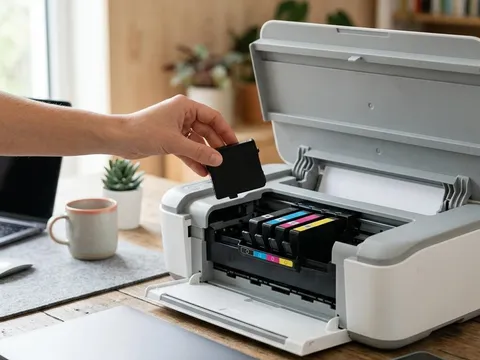
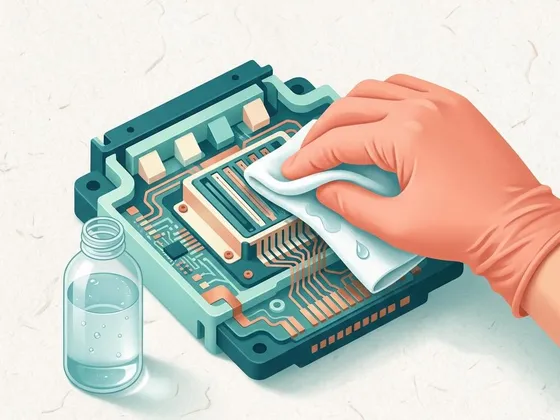
On printers where the printhead is built into the cartridge, you can lift the cartridge out and gently dab the nozzle plate with a lint-free cloth lightly moistened with distilled water, holding it there for a few seconds. On printers with a fixed printhead, follow only the steps your manual gives. Never use tap water, alcohol or household cleaners, and never rub or scrape the nozzles.
-
Step 7 of 7
Run an alignment and keep the printer in use
After any cleaning, a printhead alignment from the maintenance menu can sharpen text and remove slight banding. Then print something small at least once a week. Regular use is the most reliable way to prevent clogs from forming again.
Why printheads clog
Inkjet nozzles are narrower than a human hair. When a printer sits unused, a thin film of ink at each nozzle can dry and form a plug. Pigment inks, often used for sharp black text, tend to clog more readily than dye inks. Warm, dry rooms speed up the drying. Turning the printer off with its power button, rather than at the wall, lets it park and cap the printhead so the nozzles stay moist.
Where to find the maintenance tools
The names and locations differ by maker. On many models from Epson (opens in a new tab) and Canon (opens in a new tab), the nozzle check and head cleaning live in a Maintenance section of the printer menu or printer software. On many HP (opens in a new tab) models, look for a Tools or Printer Maintenance area instead. Your manual will name the exact menu for your model.
Questions readers ask
How often should I clean the printhead?
Only when a nozzle check shows gaps. Routine cleaning on a schedule uses ink without benefit. Many printers also run short automatic cleanings by themselves after a period of inactivity.
Why does cleaning use so much ink?
To clear a clog, the printer forces ink through every nozzle in the affected color and then wipes the head. That ink goes into an internal waste pad rather than onto paper, which is why repeated cycles can drain a cartridge quickly.
Is a manual clean safe?
It is safe when your manual describes it and you use only distilled water, lint-free cloths and a light touch. Pressing hard, rubbing, or using solvents can damage the nozzle plate permanently. If your manual does not cover manual cleaning, do not attempt it.
What if cleaning never clears the gaps?
On cartridge-based printers, a new cartridge also gives you a new printhead, which often solves it. On printers with a fixed printhead, a printhead that does not recover may need replacing. Check your manual and contact your printer's manufacturer, especially if the printer is under warranty.
Official manufacturer resources
Your printer's manual and the maker's website are the authoritative source for your exact model.
- HP — manuals, drivers and product help (hp.com) (opens in a new tab)
- Canon — manuals, drivers and product help (usa.canon.com) (opens in a new tab)
- Epson — manuals, drivers and product help (epson.com) (opens in a new tab)
- Brother — manuals, drivers and product help (brother.com) (opens in a new tab)
- Xerox — manuals, drivers and product help (xerox.com) (opens in a new tab)
- Lexmark — manuals, drivers and product help (lexmark.com) (opens in a new tab)
- Kyocera — manuals, drivers and product help (kyoceradocumentsolutions.us) (opens in a new tab)
- Ricoh — manuals, drivers and product help (ricoh-usa.com) (opens in a new tab)