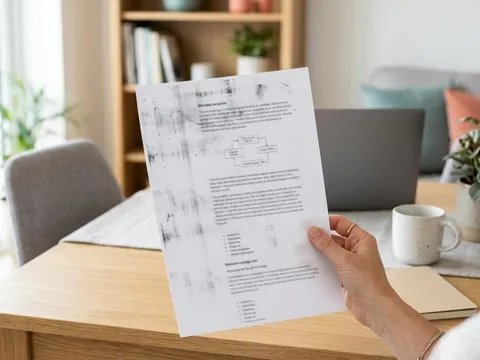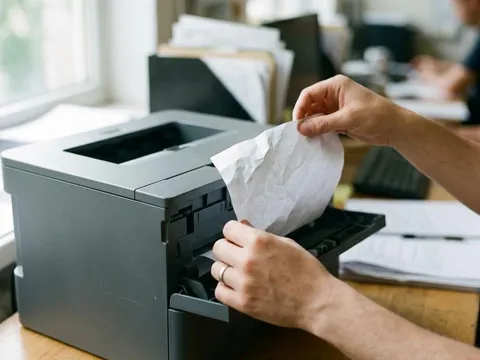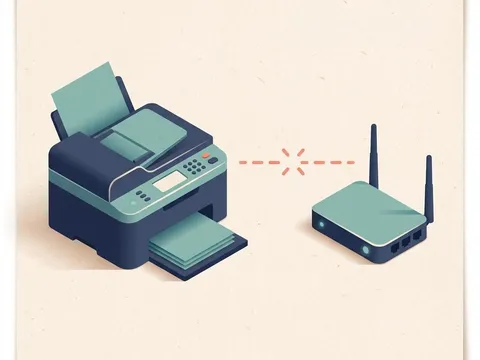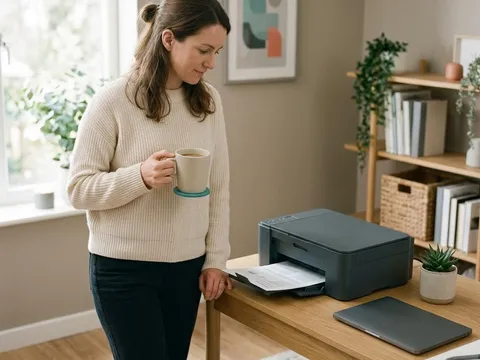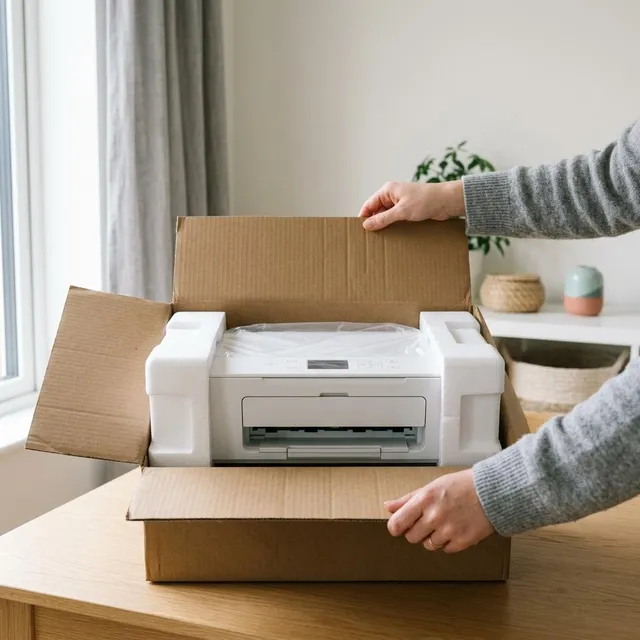
The first half hour with a new printer decides how smoothly the next few years go. Most early problems, such as paper jams on day one, error lights, streaky first pages or a printer that will not connect, come from a missed strip of tape, a cartridge that is not fully seated, or skipping the printer's own setup routine. This guide follows the order most printers expect, from opening the box to printing a clean page, and points out the steps people most often miss.
What you'll need
- A clear table near a power outlet, with space around the printer to open its covers
- Scissors or a box cutter for the outer packaging only
- The quick-start sheet that came in the box
- Your Wi-Fi network name and password, if you plan to connect wirelessly
Step by step
7 steps-
Step 1 of 7
Unpack and choose a good spot
Lift the printer out by the sides, not by the paper trays or covers. Keep the box and foam until you know everything works, in case it needs to go back. Place the printer on a flat, stable surface away from direct sunlight, heaters and damp areas, with room to open the top cover and pull out the paper tray. For wireless printing, a spot within a room or two of the router gives a steadier signal.
-
Step 2 of 7
Remove every piece of tape and packing material
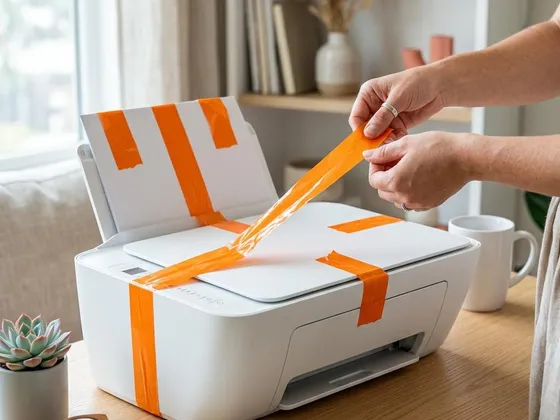
Printers ship with strips of colored tape, cardboard inserts and foam blocks holding moving parts in place. Remove all tape from the outside, then open every cover and tray and look inside for more. Packing material is often hidden around the print carriage, the scanner lid and inside the paper tray. A missed piece can cause jams, grinding noises or a carriage error on the first startup.
-
Step 3 of 7
Connect power and switch on
Plug the power cable into the printer and then into a wall outlet rather than a power strip shared with heaters or other high-draw appliances. Switch the printer on. Most printers ask you to choose a language, region and date on the display. The region setting matters on some models because it is linked to the ink or toner sold in that area.
-
Step 4 of 7
Install the ink, ink bottles or toner
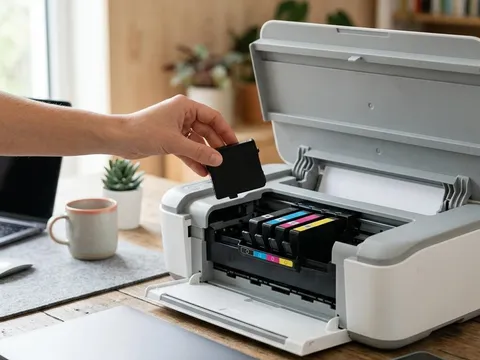
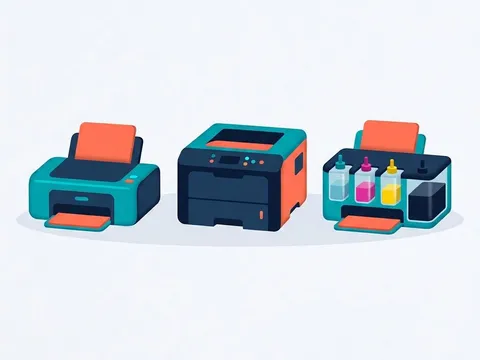
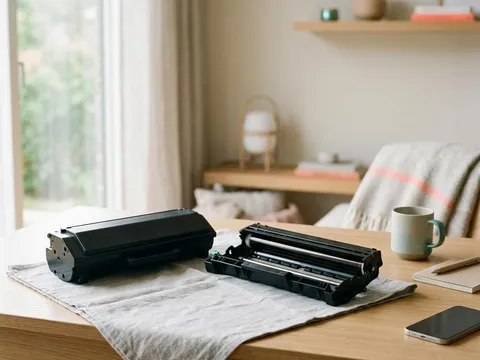
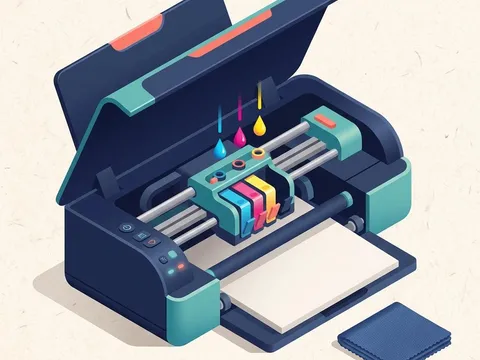
Follow the quick-start sheet exactly. For cartridge inkjets, remove each cartridge from its pack, pull off any protective tape or cap, and press it into the slot of the matching color until it clicks. For ink-tank printers, fill each tank from the bottle of the same color, then let the printer run its initial ink charge, which can take several minutes. For laser printers, remove the orange or plastic shipping strip from the toner cartridge and slide it in until it locks.
-
Step 5 of 7
Load paper and set the paper size
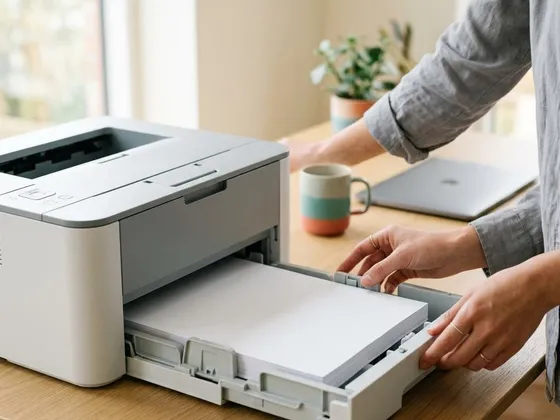
Fan a stack of plain paper to separate the sheets, tap it square on the table, and load it into the main tray print side as shown on the tray label. Slide the guides until they touch the edges of the stack without bending it. Many printers then ask what size and type of paper you have loaded; choosing the right answer avoids mismatch errors later.
-
Step 6 of 7
Let the printer run its alignment or first page
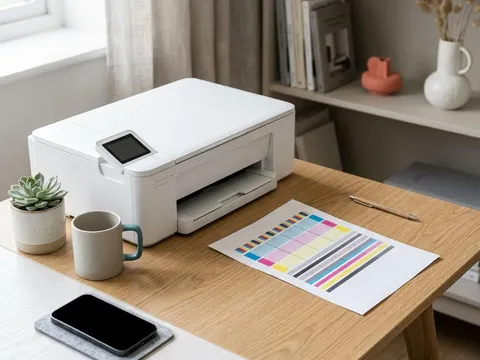
Many inkjet and ink-tank printers print an alignment or calibration page during first setup. Some then ask you to scan it on the glass of an all-in-one or to choose the best pattern on screen. Do not skip this step. It lines up the printhead so text is sharp and colors line up correctly.
-
Step 7 of 7
Choose how to connect, then print a test page
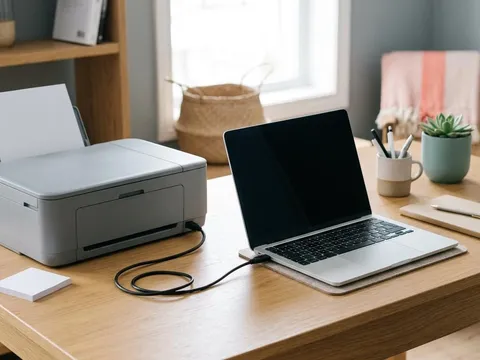
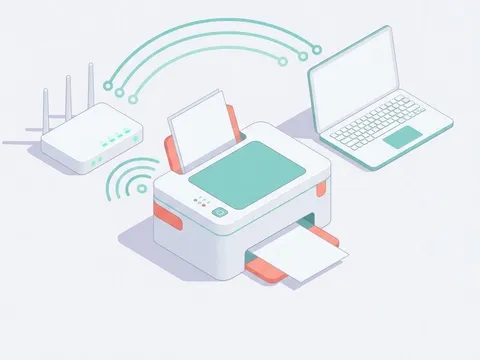
Decide between Wi-Fi, a USB cable or an Ethernet cable to the router. For Wi-Fi, use the printer's setup menu or the maker's setup app and enter your network name and password. Then add the printer on your computer or phone and print a test page. A clean test page means the printer, the supplies and the connection are all working.
Keep the quick-start sheet
The single sheet in the box is written for your exact model, and it shows details a general guide cannot, such as where the hidden packing pieces are and which order your printer expects things in. If you have lost it, the printer maker’s website has the same information under your model’s setup or manual pages, for example for Epson (opens in a new tab) ink-tank printers or Xerox (opens in a new tab) laser printers.
Ink cartridges, ink tanks and toner on day one
Cartridge inkjets usually come with starter cartridges and are ready within a few minutes. Ink-tank printers take longer because the ink must travel from the tanks through tubes to the printhead; wait for the printer to report that charging has finished before you print. Laser printers often need nothing more than removing the shipping strip, but some have a separate drum unit that must be fitted with the toner. Whatever the type, handle supplies by their edges and avoid touching copper contacts, nozzles or the green or blue drum surface.
Turn on automatic updates
During setup, many printers ask whether to install firmware updates automatically. Updates fix bugs and improve wireless reliability. If you prefer to control updates yourself, check the maker’s website every few months for your model. Firmware updates for printers should only come from the printer itself or the maker’s own website.
Still not working?
A few more things worth trying before you look further.
- Switch off, open every cover and the paper tray, and look carefully for any remaining tape, foam or cardboard.
- Remove and reinstall each cartridge or the toner, pressing firmly until it clicks or locks.
- Check the region and language settings in the printer's setup menu match where you live.
- If an error persists from the very first startup, contact the printer maker or the shop you bought it from while it is still within the return or warranty period.
Questions readers ask
Why does the new printer use so much ink at first?
The first set of ink fills the tubes and printhead, which uses more than a normal print. This is a one-time charge. The starter cartridges or bottles supplied in the box are also sometimes smaller than standard ones.
Do I have to register the printer or create an account?
Basic printing does not require an account on most models. Some printer makers ask you to create one during app-based setup to use features such as cloud printing or ink subscriptions. You can usually skip it or choose a local setup option.
Should I install the software that came on a disc?
Use the current version from the printer maker's website instead. Discs are often out of date, and many computers no longer have disc drives.
What if the printer shows an error on first startup?
Most first-day errors come from leftover packing tape or a supply that is not fully seated. Switch off, open every cover, check for tape and foam, reseat the cartridges or toner, and switch on again.
Official manufacturer resources
Your printer's manual and the maker's website are the authoritative source for your exact model.
- HP — manuals, drivers and product help (hp.com) (opens in a new tab)
- Canon — manuals, drivers and product help (usa.canon.com) (opens in a new tab)
- Epson — manuals, drivers and product help (epson.com) (opens in a new tab)
- Brother — manuals, drivers and product help (brother.com) (opens in a new tab)
- Xerox — manuals, drivers and product help (xerox.com) (opens in a new tab)