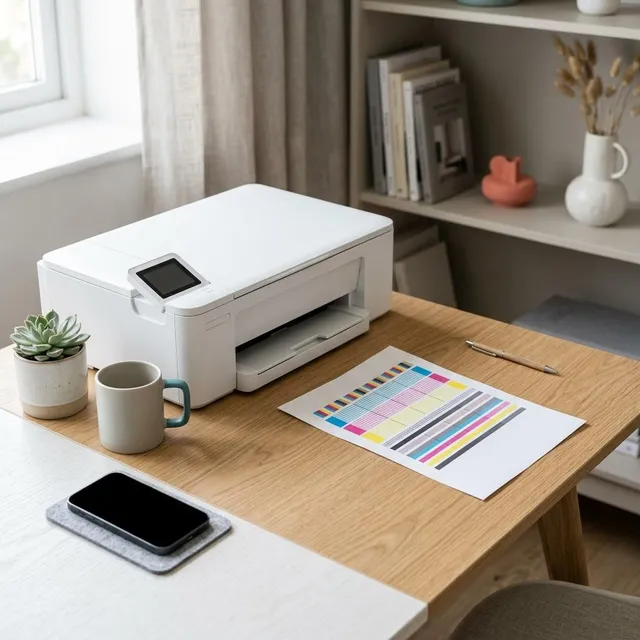
A nozzle check and a printhead alignment are the two simplest maintenance tools on any inkjet printer, and they answer different questions. The nozzle check shows whether every tiny nozzle is firing. The alignment makes sure the printhead lays down ink in exactly the right place as it moves back and forth. Run together, they solve most print quality complaints without wasting ink on unnecessary cleaning. This guide explains how to run each one and how to read the results.
What you'll need
- A few sheets of plain paper, letter or A4 size
- Access to the printer's maintenance menu or software
- Good light to inspect the printed pattern
Step by step
7 steps-
Step 1 of 7
Open the maintenance menu
On the printer's display, look for a menu called Maintenance, Tools or Setup. In the printer software on a computer, look for a Maintenance or Utility tab in the printer preferences. Both lead to the same set of tools: nozzle check, head cleaning and printhead alignment.
-
Step 2 of 7
Load plain paper and print the nozzle check
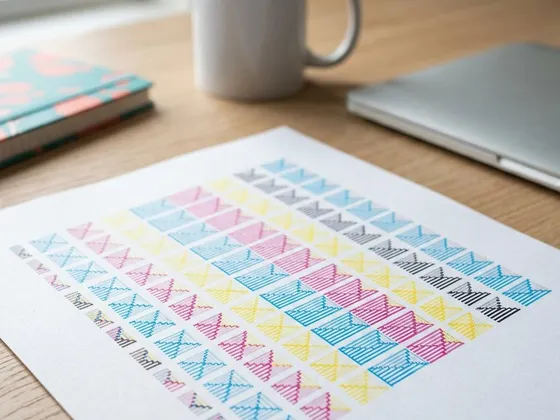
Load plain paper in the main tray. Choose Nozzle check or Print quality diagnostic page. The printer prints a single page with a pattern of fine lines or blocks for each ink color. It takes about a minute and uses very little ink.
-
Step 3 of 7
Read the pattern carefully
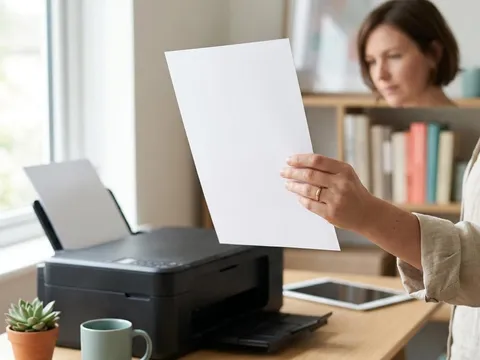
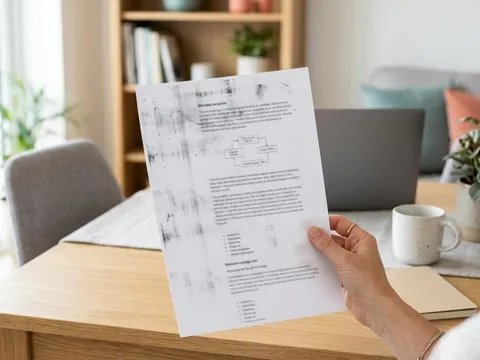
Look at each color block in good light. A complete pattern has continuous lines with no gaps, breaks or missing segments. Gaps in one color mean some nozzles for that color are blocked. A completely missing color usually means that color is empty or badly blocked.
-
Step 4 of 7
Clean only if the pattern has gaps
If the pattern is complete, skip cleaning: it would waste ink without improving anything. If there are gaps, run one head cleaning cycle, choosing only the affected color group if your printer allows it, then print another nozzle check. Repeat once more if the pattern improves but is not complete.
-
Step 5 of 7
Rest the printer if gaps remain
If two cleaning cycles do not fix the pattern, stop and leave the printer switched on, or in standby, for several hours or overnight. This gives the cleaning fluid time to soften dried ink. Then print one more nozzle check and clean once more if needed.
-
Step 6 of 7
Run the printhead alignment
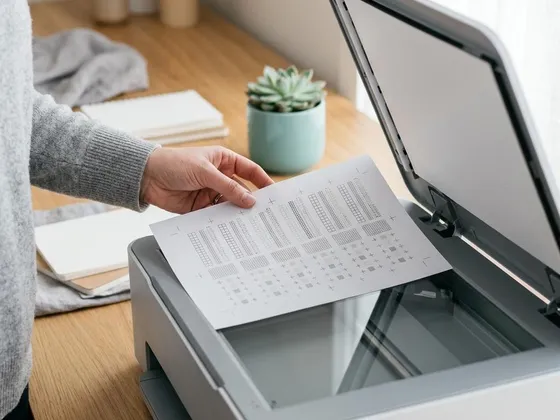
Once the nozzle check is complete, choose Printhead alignment or Head alignment. The printer prints a page of patterns. Some printers read it automatically with a built-in sensor, some ask you to place it on the scanner glass of an all-in-one, and others ask you to choose the pattern with the fewest visible lines or gaps in each row.
-
Step 7 of 7
Print a test page to confirm
Print a document with fine text and a photo. Text should be sharp with clean edges, and vertical lines should be straight rather than fuzzy or doubled. Keep the successful nozzle check page as a reference for future comparisons.
When to use each tool
Use the nozzle check first whenever prints show white lines, missing colors or patchy fills. Use alignment when edges look fuzzy, vertical lines appear doubled or jagged, or text looks slightly blurred even though every color prints. Cleaning sits between them and is only needed when the nozzle check shows gaps. Following that order saves ink and time.
Menu names differ between makers
The tools have slightly different names depending on the printer. Many Epson (opens in a new tab) models call them Nozzle Check, Head Cleaning and Print Head Alignment under Maintenance. Many Canon (opens in a new tab) models list Nozzle Check, Cleaning, Deep Cleaning and Print Head Alignment. Some HP (opens in a new tab) printers combine them in a Print Quality Report or Print Quality Tools menu. The manual for your exact model shows where each one is.
Printers that clean themselves
Many inkjets run small automatic cleaning routines when they are switched on after a long rest or when a cartridge is replaced. These routines are normal and help prevent dried nozzles. Leaving the printer plugged in and switching it off with its own power button, rather than at the wall, lets it cap the printhead properly and run these routines when needed.
Questions readers ask
How often should I run a nozzle check?
Run one whenever print quality looks wrong, before an important photo job, and after the printer has been unused for a few weeks. There is no need to run one routinely if prints look good.
Does alignment fix missing colors?
No. Alignment adjusts where ink lands, not whether it comes out. Missing colors need a nozzle check, cleaning and possibly new ink.
Why does my printer ask me to choose patterns?
Printers without an alignment sensor need your eyes to pick the best-matching pattern. Choose the one with the smoothest look and the least visible lines, using good light.
Should I align after replacing a cartridge?
Many printers align automatically when a new cartridge or printhead is fitted. If text looks fuzzy after a replacement, run a manual alignment.
Official manufacturer resources
Your printer's manual and the maker's website are the authoritative source for your exact model.
- Epson — manuals, drivers and product help (epson.com) (opens in a new tab)
- Canon — manuals, drivers and product help (usa.canon.com) (opens in a new tab)
- HP — manuals, drivers and product help (hp.com) (opens in a new tab)
- Brother — manuals, drivers and product help (brother.com) (opens in a new tab)