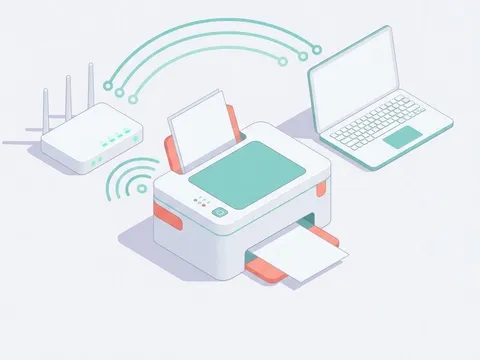
Adding a printer to a computer is mostly a matter of letting the computer find it, then confirming the right driver is in place. Modern desktop and laptop systems detect most printers on their own, whether they are plugged in with a cable or sitting on the same Wi-Fi network. This guide walks through the same order of steps on any computer: get the printer ready, open the printer settings, add the device, check the driver and print a test page. Where the menu names differ between systems, they are given in the body text with a link to the system maker's own instructions.
What you'll need
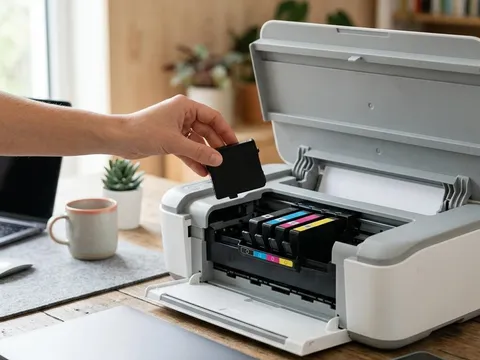
- The printer, switched on, with paper loaded and ink or toner installed
- Either a USB cable, or the printer already connected to your Wi-Fi network
- Your computer, signed in with an account that can install devices
- The model name of your printer, printed on the front or on a label on the back
Step by step
7 steps-
Step 1 of 7
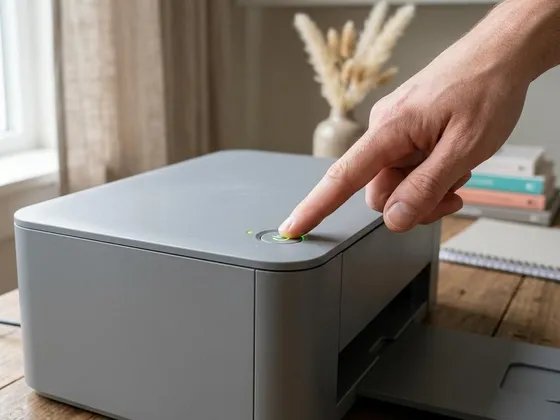
Get the printer ready before you touch the computer
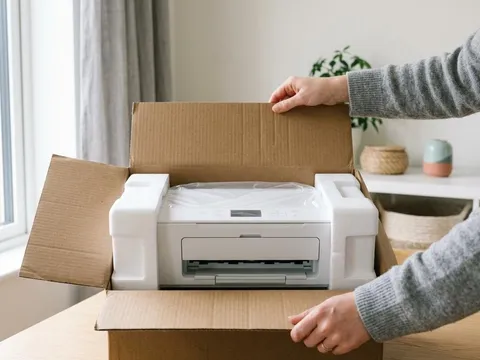
Switch the printer on and wait until it has finished its start-up routine and the display or status light shows it is ready. Load a few sheets of plain paper. If it is a network printer, confirm it is already on your Wi-Fi: most printers can print a network status page from their setup menu, which shows the network name and whether it is connected. If it is not connected yet, set that up first, then come back to this guide.
-
Step 2 of 7
Connect the cable, if you are using USB
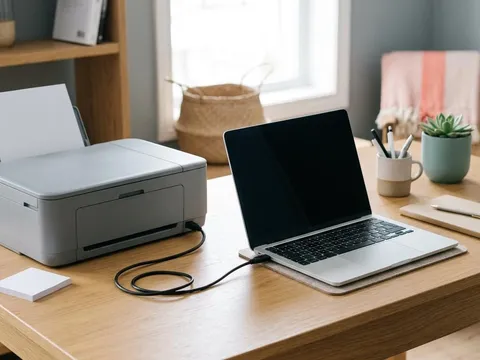
For a USB printer, plug the cable into the printer and then into a USB port on the computer itself rather than a hub or monitor port, which can be unreliable. Many systems recognize the printer within a minute and add it without further steps. If a message appears saying the device is ready, you can skip ahead to the test page step.
-
Step 3 of 7
Open your computer's printer settings
Every desktop system has a single place that lists printers. The exact menu path is given below the steps for the most common systems. Open it and look for a button labeled Add printer, Add device or a plus sign. Wait a moment while the computer searches the network and its ports for printers it can talk to.
-
Step 4 of 7
Choose your printer from the list
Your printer usually appears by model name. If you see two entries for the same model, one is often the printer's network connection and the other is a scanner or fax function on an all-in-one; choose the entry that matches the printer. Select it and confirm. The computer will either use a driver it already has or download one automatically, which can take a minute or two.
-
Step 5 of 7
Add it manually if it does not appear
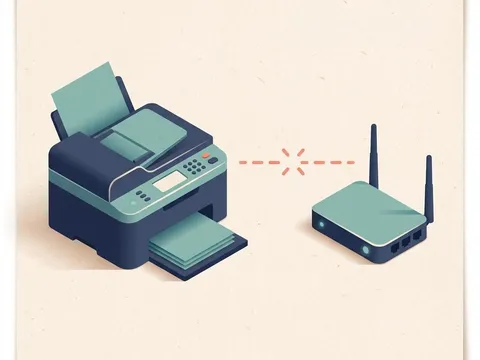
If the printer does not show up, choose the option to add a printer that is not listed. You can usually add it by its IP address, which is shown on the network status page you printed earlier. Type the address exactly, then let the computer detect the printer type. If that still fails, the printer and computer are probably on different networks, for example a guest network or a different frequency band that is isolated from the main one.
-
Step 6 of 7
Check the driver and set the printer as default
Open the printer's entry in the printer settings and look at its properties. If basic printing works but options such as two-sided printing, tray selection or ink levels are missing, install the full driver package from the printer maker's website, using the model name from the front of the printer. If this is the printer you will use most, mark it as the default so every app sends jobs to it automatically.
-
Step 7 of 7
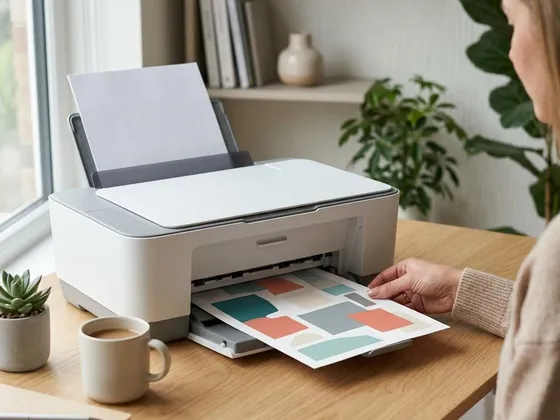
Print a test page
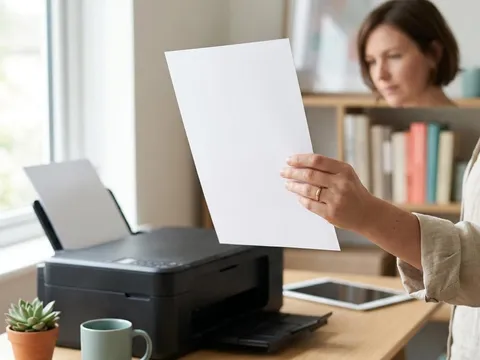
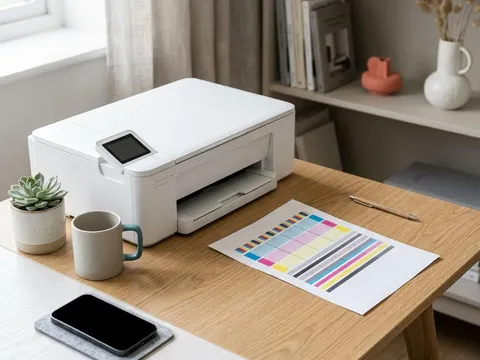
Use the Print test page button in the printer's settings, or open a short document and print one page. A clean test page confirms the connection, the driver and the ink or toner path in one go. If the page prints but colors look wrong or lines are missing, the connection is fine and the issue is with the print quality, which a nozzle check or cleaning cycle addresses.
Where to find the printer settings on common systems
The idea is the same everywhere, but the menu names differ. These are the usual paths at the time of writing; menus can move between system updates, so the linked pages from each system maker are the most reliable reference.
On Windows 11 (opens in a new tab), open Settings, then Bluetooth & devices, then Printers & scanners, and choose Add device. If the printer is not found, the option labeled “The printer that I want isn’t listed” lets you add it by IP address or by name.
On a Mac (opens in a new tab), open System Settings, then Printers & Scanners, and click Add Printer, Scanner or Fax. Printers on the same network usually appear on the default tab; the IP tab lets you type an address.
On a Chromebook (opens in a new tab), open Settings, then Advanced or Device, then Printing and Printers. Nearby network printers appear under available printers, and you choose Save or Set up next to the one you want.
USB or network: which to choose
A USB cable is the simplest connection for one computer sitting next to the printer. There is nothing to configure, and it keeps working even when the Wi-Fi is down. A network connection, either Wi-Fi or an Ethernet cable to the router, lets every computer, phone and tablet in the house print without moving the printer. If more than one person prints, the network route is usually worth the few extra minutes of setup.
When to install the full driver package
The driver your computer downloads automatically is often enough. Install the full package from the printer maker if you want to see ink or toner levels on screen, use the scanner on an all-in-one, choose specific trays or paper types, or run maintenance tasks such as nozzle checks from the computer. You can find the download on the maker’s website by searching for your model, for example on the pages for Epson (opens in a new tab) or Brother (opens in a new tab) printers. Avoid third-party “driver updater” tools, which are unnecessary and sometimes bundle unwanted software.
Still not working?
A few more things worth trying before you look further.
- Print a network status page from the printer and check that its network name matches the one your computer is using.
- Remove the printer from the computer's list, restart both devices, and add it again from the start.
- Try a different USB port and a different cable if you are connecting directly.
- Download the latest driver for your exact model from the printer maker's website and install it before adding the printer again.
Questions readers ask
Do I need to install software from a disc?
Usually not. Most current computers download a suitable driver automatically when you add the printer. Discs that ship with printers are often out of date, so if you need the full software package, download the current version from the printer maker's website instead.
Why does my printer appear twice in the list?
All-in-one printers often show one entry for printing and another for scanning or faxing. Some printers also appear once for a USB connection and once for a network connection. Keep the entry that matches how you actually connect and remove the duplicates to avoid sending jobs to the wrong one.
Can I add the same printer to several computers?
Yes. A network printer can be added to every computer on the same network, each following the same steps. A USB printer can be shared from the computer it is plugged into, but that computer then needs to be switched on for others to print.
What is the difference between a basic driver and the full software?
A basic driver handles everyday printing. The full software package from the printer maker usually adds ink level monitoring, maintenance tools, scanning apps and access to every tray and finishing option. You can start with the basic driver and add the full package later if you need those features.
Official manufacturer resources
Your printer's manual and the maker's website are the authoritative source for your exact model.
- HP — manuals, drivers and product help (hp.com) (opens in a new tab)
- Canon — manuals, drivers and product help (usa.canon.com) (opens in a new tab)
- Epson — manuals, drivers and product help (epson.com) (opens in a new tab)
- Brother — manuals, drivers and product help (brother.com) (opens in a new tab)