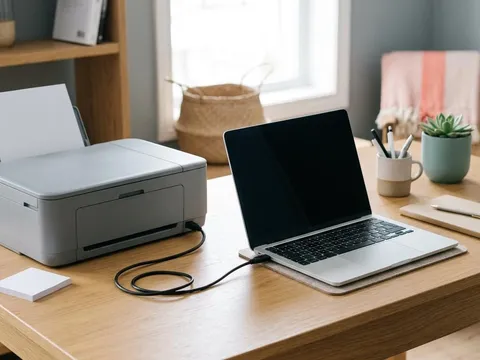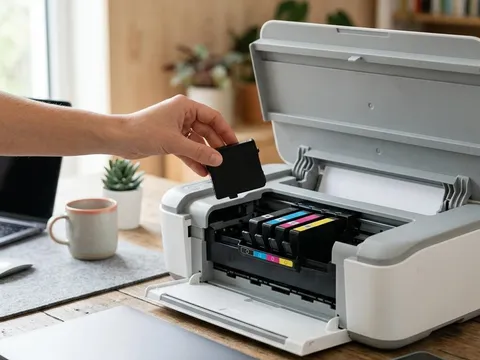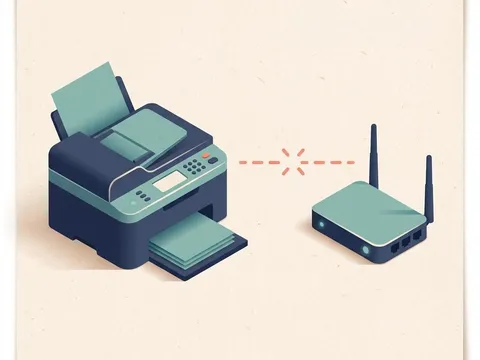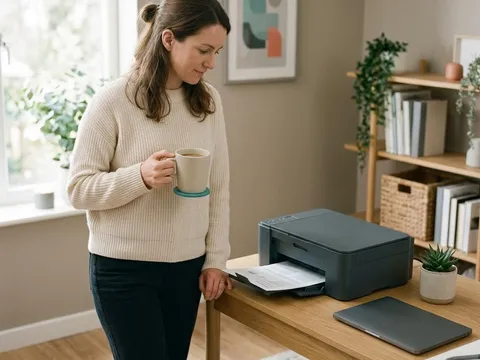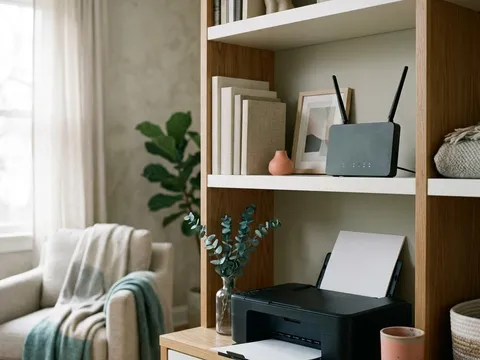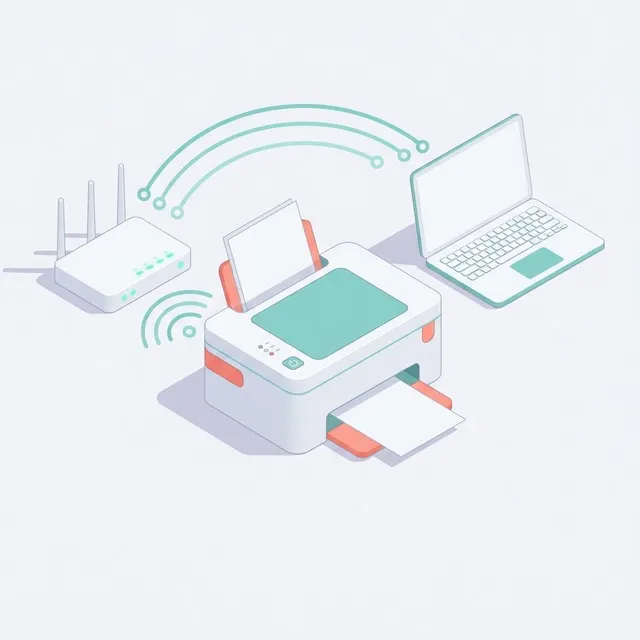
Most printers made in the last decade can join a Wi-Fi network without a cable. There are two common routes. WPS (Wi-Fi Protected Setup) pairs the printer and the router with a button press on each, and takes a couple of minutes when your equipment allows it. Manual setup has you choose your network name on the printer and type the password, and it works with almost any router. This guide walks through both, then shows you how to add the printer to a computer or phone and confirm the connection with a test page.
What you'll need
- Your Wi-Fi network name and password, written down
- Access to your router, if you plan to use its WPS button
- The printer's manual or the setup sheet that came in the box
- A computer, tablet or phone connected to the same network
- Plain paper loaded in the main tray for the test page
Step by step
7 steps-
Step 1 of 7
Put the printer within easy reach of the router
Setup is smoother when the signal is strong. For the first connection, place the printer in the same room as the router if you can, away from microwaves, cordless phone bases and thick walls. You can move it to its permanent spot once it is connected. Switch the printer on and let it finish its start-up routine. Many models also ask you to pick a language, set the date and load paper before the network menu becomes available.
-
Step 2 of 7
Check whether your router has a WPS button
Look on the front, back or side of the router for a button labelled WPS or marked with two curved arrows. Some routers combine it with the reset button, so read the label carefully: holding a reset button for too long can erase the router's settings. If you cannot find a WPS button, if your internet provider has switched the feature off, or if your network uses WPA3-only security (WPS does not work with WPA3 on most routers), skip ahead to the manual route in step 4.
-
Step 3 of 7
Start WPS on the printer, then press the router button
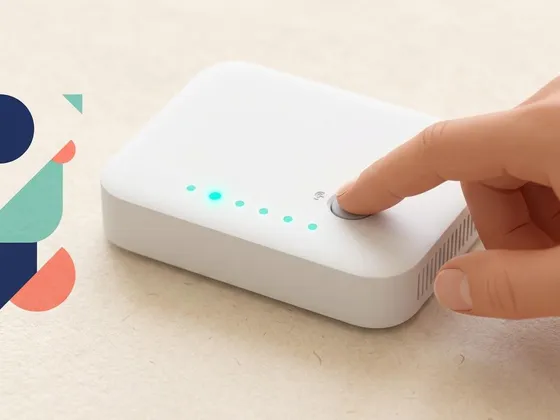
On the printer, open the wireless or network menu and choose the WPS or push-button option. On models without a screen, this is often done by holding the Wi-Fi button for a few seconds until a light starts blinking, but the exact press varies, so check your manual. Within two minutes, press the WPS button on the router. When the pairing succeeds, the printer's wireless light usually stops blinking and stays lit. If the two-minute window runs out, simply start again from the printer.
-

Step 4 of 7
Or join manually from the printer's control panel
On printers with a screen, open the settings menu, then the network or wireless section, and run the wireless setup wizard. The printer scans for nearby networks and lists their names. Choose yours, enter the password with the on-screen keyboard or arrow keys, and confirm. Passwords are case-sensitive, so take care with capital letters and look-alike characters such as a zero and a capital O. The printer usually shows a short confirmation and may print a result sheet.
-
Step 5 of 7
No screen? Use the maker's app and setup mode
Many printers without a display offer a temporary setup mode. The printer broadcasts its own short-range network, and the manufacturer's app on a phone or computer uses that link to pass your Wi-Fi details across, then moves the printer onto your home network. Get the app from the manufacturer's website or your device's app store, open it, and follow the prompts. The sequence differs a lot between models, so keep the manual close.
-
Step 6 of 7
Add the printer to your computer or phone
Once the printer has joined the network, open the printer settings on your computer and choose the option to add a printer or scanner. It should appear by name within a minute. Most phones and tablets find network printers on their own from the Share or Print menu inside an app. If your computer asks for a driver, get it from the manufacturer's website rather than a third-party download page.
-
Step 7 of 7
Print a test page and a network report
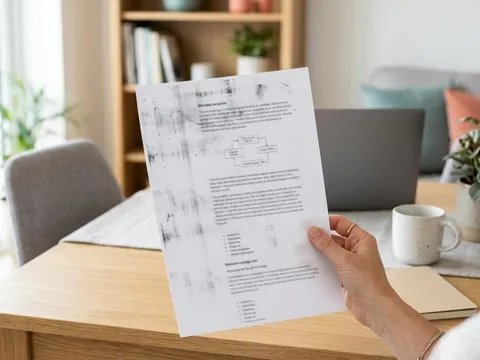
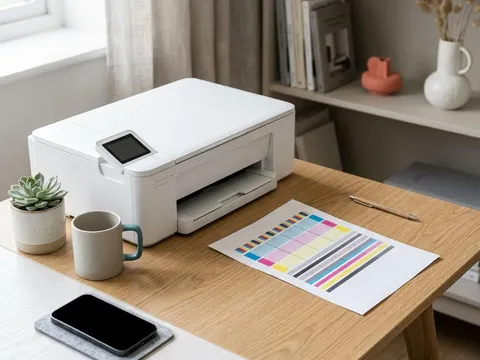
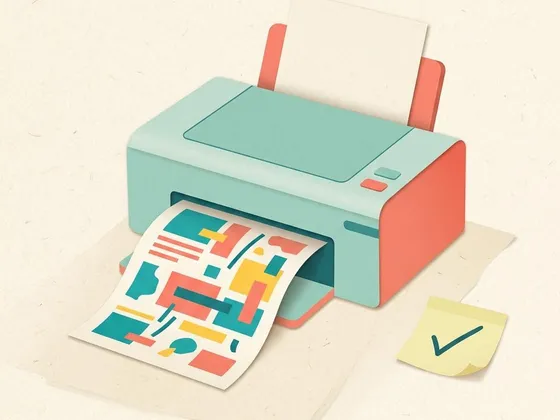
Send a short document to confirm everything works end to end. Then print the network configuration or wireless test report from the printer's menu. It lists the network name, signal strength and the printer's IP address. Keep this page somewhere handy: it is the quickest reference if the printer ever drops off the network later.
WPS or manual: which should you choose?
WPS is quick when it works, because you never type the password on a tiny screen. It depends on two things you do not always control: your router must offer the push-button option, and the feature must be switched on. Manual setup takes a few minutes longer but works with almost any home network, including ones with long or complex passwords.
A sensible approach is to try WPS once. If the printer does not connect within the two-minute window, move straight to manual setup rather than repeating WPS several times.
Good to know about bands and security
Home routers usually broadcast on two radio bands. The 2.4 GHz band reaches further and passes through walls better; the 5 GHz band is faster over short distances. Many printers, especially older or budget models, only connect on 2.4 GHz. If your router uses one combined network name for both bands, the printer normally picks the right one by itself.
Your printer’s specification sheet lists which bands and security types it works with. You can usually find it on the maker’s website, for example on HP (opens in a new tab) or Brother (opens in a new tab), by searching for your exact model number.
If the printer will not join
- Re-enter the password slowly and check for capital letters.
- Move the printer closer to the router for the first connection.
- Restart the printer and the router, then try again.
- Check whether your router blocks new devices with a MAC address filter.
- Make sure your computer and the printer are on the same network, not one on the guest network.
If the printer still shows no connection, the wireless section of your printer’s manual describes the meaning of each light pattern for your model.
Questions readers ask
Is WPS safe to use?
The push-button form of WPS used in this guide only opens a short pairing window, so the practical risk at home is low. The PIN form of WPS has known weaknesses, which is why many routers ship with it disabled. If you prefer, use manual setup and leave WPS off in your router settings.
My printer cannot see my network. Why?
Many printers connect only on the 2.4 GHz band. If your router broadcasts separate names for 2.4 GHz and 5 GHz, choose the 2.4 GHz one. Also check that the network is not hidden and that the printer is close enough to the router during setup.
Can I connect to a guest network?
You can, but guest networks often keep devices apart from each other on purpose. Your computer may then be unable to find the printer even though both are online. Use your main network for the printer and the devices that print to it.
Do I need to repeat setup if I change my Wi-Fi password?
Yes. The printer stores the old password and will not reconnect until you run the wireless setup again with the new one. Changing the router itself usually means doing the same, unless the new router keeps the old network name and password.
Official manufacturer resources
Your printer's manual and the maker's website are the authoritative source for your exact model.
- HP — manuals, drivers and product help (hp.com) (opens in a new tab)
- Canon — manuals, drivers and product help (usa.canon.com) (opens in a new tab)
- Epson — manuals, drivers and product help (epson.com) (opens in a new tab)
- Brother — manuals, drivers and product help (brother.com) (opens in a new tab)
- Xerox — manuals, drivers and product help (xerox.com) (opens in a new tab)
- Lexmark — manuals, drivers and product help (lexmark.com) (opens in a new tab)
- Kyocera — manuals, drivers and product help (kyoceradocumentsolutions.us) (opens in a new tab)
- Ricoh — manuals, drivers and product help (ricoh-usa.com) (opens in a new tab)